Showing posts with label 6L6 transmitter. Show all posts

Sunday, December 4, 2011

6L6 Transmitter Part 4 Finished

Finished up the 6L6 Transmitter project this week end. What a fun ride that was. A project like this IS a learning experience. This view shows the completed wired components looking toward the back.


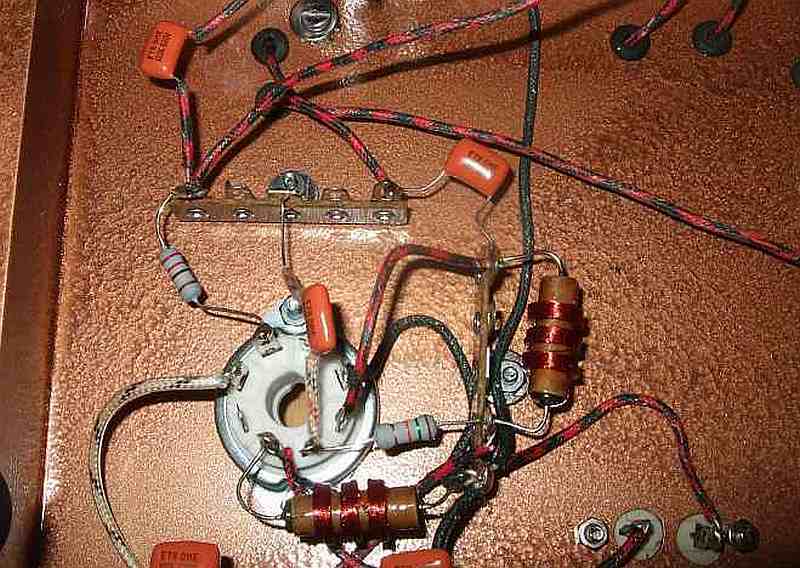
This view is wired  components looking toward the key jack. The Key jack ended up being faulty, so I had to swap it out with a new one. I could not figure out why I was not getting any out put from it. Elmer James found it. (good eye James) The jack had an extra part on it no doubt from someone Else's home brew project. I'll take that part off and use it for some thing else.


Finished 6L6 front side.


The back side showing the meter.


The finished pair on the bench. Power supply and Transmitter. I made a new set of Dials with bigger numbers, I think they look better.


Not too bad for an Amateur eh? A short video demo of the 6L6 Tune up.

Saturday, November 26, 2011

6L6 Transmitter part 3

Installed the hardware, and started wiring up the internal components.


 The top side with the hard ware installed.


The front panel with meter and dial plates secured.


More to come.

Monday, November 21, 2011

6L6 Transmitter build Part 2

After getting the Dials all sorted out I started drilling holes and fitting the individual components. Anytime I build anything I like to dry fit all the parts. (old habit from 25 + years as a scientific glass blower)
I don't want to go back and re-drill holes after painting it.


This is the tool I used to drill the holes in the front panel a "Milwaukee ice" hole saw. You can buy them in the size you need or as a set. How do they work you ask? Very good, A+ in my book. It cut the 2" hole in the steel front panel easily, with a smooth finished edge. The aluminum chassis cuts were also good clean cuts.
Of course you must clamp it down before drilling. 


All the parts dry fitted, adjustments made, I pulled off the protective paper from the chassis and cleaned it up with alcohol.


Nice and shiny!
Added a  nice coat of primer, and I'll let it dry over night before I paint it the Copper Hammer-Tone color to match the power supply I built for it.


More to come.....

Saturday, November 12, 2011

6L6 Transmitter

We now have enough of the parts to start the 6L6 transmitter project. I began laying out the front panel after cutting it down to size. I drilled the holes to attach it to the chassis. Along with the hole for the key jack. My small drill press does a great job on this kind of stuff.


 I attached the 10 X 8 inch front panel with screws and inserted the key jack port. On the front panel I taped some paper 0-100 dial  templates I made with Adobe Illustrator just to get a idea of the placement of the controls and ma meter.   


Below I arranged the tuning capacitors, coil form socket, tube socket, and crystal socket. On the rear of the chassis I'll mark the positions for the terminal connection strip, SO 239 connector, and ground lug. More to come.....